A buzzing intercom most often points to a failing power supply, a grounding problem such as a ground loop, or electromagnetic interference from nearby equipment, with corroded connectors as a common secondary cause. Never attempt to remove or bypass a safety ground to quiet the noise, and stop any work immediately if you notice sparking, scorched wiring, or a shock when touching a panel.
TL;DR:
- Buzzing typically stems from a failing power supply, ground loops, or electromagnetic interference from nearby equipment, with corrosion at connectors as a secondary cause.
- Intermittent buzzing more often indicates loose connections or failing components rather than grounding issues, which usually produce a steady hum.
- Safe troubleshooting involves powering down the system, isolating stations, checking for corrosion or loose wiring, and avoiding the removal of safety grounds.
- Persistent noise after basic checks suggests the need for professional diagnostics, including ground continuity tests and network analysis for IP-based systems.
- Replacing power supplies, re-terminating grounds, and upgrading to IP or PoE systems are common solutions for recurring or aging wiring-related noise problems.
Table of Contents
- Quick diagnosis: match the noise to likely root causes
- Common causes explained: power, grounding, EMI, connectors, environment
- Step-by-step safe troubleshooting you can try now
- When to stop DIY and call a licensed technician: what pros will do
- Repairs pros use: isolation, replacement, grounding, cabling
- Analog vs IP intercoms and retrofit signals
- Practical next steps and how YDA Security Systems NYC can help
- Why YDA Security Systems NYC is the right call for this problem
- Sources
- FAQ
Quick diagnosis: match the noise to likely root causes
The character of the buzz tells you more than any single test. A steady, low-pitched hum that never changes often indicates a grounding issue or an aging power supply, while an intermittent buzz that comes and goes usually points to a loose connection or a component starting to fail. Crackling or popping suggests physical damage to a connector or cable, and a whine or feedback screech often traces back to a microphone or speaker circuit rather than the wiring itself.
A short observation exercise narrows things down before you touch a screwdriver:
- Notice whether the buzz is present when the system sits idle or only appears during calls, since a noise that only shows up mid-call often means an audio path or amplifier problem.
- Check if the sound intensifies when specific appliances, elevators, or fluorescent lights turn on nearby, which points toward electromagnetic interference.
- Test whether the buzz follows one specific panel or station, which usually isolates the fault to that unit’s wiring or power feed rather than the whole system.
According to a ground loop reference from WEMPEC, a steady low-frequency hum is commonly tied to grounding issues or a failing power supply, while intermittent buzzing often traces back to loose connections or components on their way out. That distinction alone can save a technician a return visit.
Common causes explained: power, grounding, EMI, connectors, environment
Understanding why these faults produce noise helps explain why some quick fixes are dangerous rather than clever. A failing power supply, whether it feeds an analog panel or a PoE injector for an IP intercom, can introduce ripple into the audio line that surfaces as a steady hum, a problem that tends to worsen as capacitors inside the supply age.
Ground loops are a frequent culprit in multi-panel buildings. When two grounded points in a system sit at slightly different electrical potentials, current flows along the shield or ground path that was never meant to carry it, and that stray current shows up as audible hum, a phenomenon documented in detail in the WEMPEC ground loop guide. Other common contributors include:
- Electromagnetic interference from motors, fluorescent ballasts, switching power supplies, and nearby radio transmitters, which can couple into unshielded or poorly shielded wiring.
- Corroded or loose connectors at terminal blocks raise resistance at the joint and create intermittent noise as the connection heats and cools.
- Water ingress at exterior panels, a frequent issue in NYC’s older buildings where door stations face weather exposure year round.
- Damaged cable shielding or excessively long cable runs, which increase susceptibility to conducted and radiated noise, as outlined in NASA’s research on shield impedance and connector resistance.
Pro Tip: If the buzz gets louder near a specific wall or conduit run, suspect EMI coupling from wiring behind it rather than a fault inside the intercom panel itself.
Step-by-step safe troubleshooting you can try now
Before opening any junction box or terminal panel, cut power to the intercom system at the breaker or the local power supply, and never remove or bypass the safety ground conductor to chase a noise. If you see a shock hazard, a burnt smell, or exposed live wiring, stop and treat it as a job for a licensed technician.
With power safely off, work through this sequence:
- Identify every station on the system and label them, since isolating a fault means testing one panel at a time.
- Disconnect all but one station, then restore power briefly to check whether the hum persists with just that panel active.
- Repeat with each station individually, noting which ones reproduce the noise and which stay quiet.
- If a spare power supply or an extra PoE port is available, swap it in temporarily to see whether the hum follows the power source rather than the wiring.
- Inspect terminal screws for looseness, clean any visible corrosion with an appropriate contact cleaner, and reseat each connector firmly.
- Look along accessible cable runs for signs of moisture, cracked insulation, or physical damage.
- Temporarily power down suspect nearby equipment, such as a fluorescent fixture or a motor, to see if the buzz drops out, which confirms EMI as the source.
- Record what you find: which station buzzed, what changed the noise, and a short audio clip if possible, since this saves diagnostic time if a technician needs to take over.
This isolation approach mirrors the method used in professional fieldwork. A ground loop troubleshooting guide from WEMPEC describes a workflow of powering down, disconnecting non-essential devices, injecting a known-good power source, and reintroducing components one at a time, a method that reliably locates the faulty interface in multi-station systems. Community reports on forums such as r/telecom echo this: cleaning connectors, reseating wiring, and swapping a failing power supply resolve a large share of buzzing complaints without any deeper rework.
When to stop DIY and call a licensed technician: what pros will do
Certain signs mean the problem has moved past safe self-repair. Stop and call a professional if you notice:
- Any spark, scorch mark, or shock sensation when touching a panel, connector, or junction box.
- A hum that seems to affect the entire building rather than one intercom line, which suggests a building-wide electrical or grounding fault.
- A multi-unit building with shared risers, elevator or gate lock integrations, or a ground architecture that spans several floors, where a wrong move can affect other tenants’ systems.
- Persistent noise after basic cleaning and connector checks, especially on a PoE or IP intercom, where the fault may sit in the network rather than the wiring.
Licensed technicians bring diagnostics that go beyond what a property owner can safely run at home, including ground continuity checks, common-mode voltage measurements, hummer or pin-1 style tests, trial installs of isolation devices, and, for IP systems, network-level diagnostics. Manufacturer guidance for IP intercoms, such as the 2N diagnostics and troubleshooting FAQ, recommends checking PoE power budgets, verifying firmware, and collecting logs before further support, steps that typically require a technician’s tools and access. A typical service visit covers a diagnostic assessment, any parts needed, the repair itself, and a verification test before the technician leaves. For readers in New York City, YDA’s intercom repair service covers exactly this kind of visit, including same-day troubleshooting where scheduling allows.
Repairs pros use: isolation, replacement, grounding, cabling
Once a technician confirms the source, the fix usually falls into one of a few categories. Replacing a failing power supply or PoE injector is often the simplest resolution, since it removes the ripple or voltage instability that was generating low-frequency hum in the first place.
Where the cause is a ground loop, galvanic isolation devices break the unwanted current path without touching safety grounding. The WEMPEC ground loop guide notes that transformer- or isolator-based isolation reduces 60 Hz hum substantially, and that input-transformer isolators typically deliver stronger low-frequency rejection than output-transformer designs, though they need to sit close to the device input with short cable runs to avoid high-frequency loss. Additional professional-grade fixes include:
- Re-terminating shields and setting up single-point grounding architecture rather than multiple ground references fighting each other.
- Replacing corroded terminals and, where runs are excessively long, shortening them or switching to shielded twisted-pair cable.
- Adding ferrite chokes or baluns to suppress RF interference picked up along a cable run.
- Recommending a retrofit to IP or VoIP intercom hardware when the existing analog wiring and power infrastructure are the recurring point of failure.
Pro Tip: Never lift or disconnect a safety ground to quiet a hum. It removes a protective feature and can create a shock or fire hazard rather than solving the noise.
Correct shielding, proper connector termination, and cable runs kept electrically short relative to the interference source all reduce susceptibility to conducted and radiated noise, a point supported by NASA’s shielding and grounding research. This is why a technician often addresses cable routing and shielding at the same time as the power or grounding fix rather than treating them separately.
Analog vs IP intercoms and retrofit signals
Aging analog intercom systems tend to develop noise problems for a simple reason: their power supplies, transformers, and cable insulation degrade over years of use, and each replacement part patches one failure while the rest of the system keeps aging. Switching to an IP or PoE-based intercom removes much of that legacy wiring risk, but it introduces new failure modes tied to network configuration, PoE power budgets, and firmware, according to 2N’s guidance on noise interference.
A few signals suggest replacement is worth considering over another round of patch repairs:
- The same buzzing issue keeps returning after multiple repairs on the same analog wiring or power supply.
- The building’s cable runs are original to a decades-old installation and show consistent corrosion or shielding damage.
- You are already planning door hardware or access control upgrades, making a combined retrofit more efficient than separate service calls.
YDA’s Manhattan intercom upgrade guide walks through what a retrofit involves and how much disruption to expect during the switch.
Practical next steps and how YDA Security Systems NYC can help
In the next ten to thirty minutes, you can safely power down the affected panel, test one station at a time, check for loose or corroded terminals, and note whether the noise tracks a specific panel or a specific piece of nearby equipment. Keep the safety ground connected at all times, and write down what you observe, including which stations buzzed and under what conditions, before a technician arrives.
Fast troubleshooting and same-day repair services are available where scheduling allows, provided by licensed and insured technicians, with a 1-year warranty on installations. Property owners and managers across Manhattan, Brooklyn, Queens, and Staten Island rely on this kind of on-site diagnosis when a buzzing intercom points to something beyond a quick connector clean. Before your visit, review YDA’s intercom installation checklist so you know what information to have ready.
- Keep the safety ground intact and never attempt to bypass it yourself.
- Have your triage notes and any audio clip ready for the technician.
- Ask about PoE or IP retrofit options if the noise keeps recurring on the same analog line.
Why YDA Security Systems NYC is the right call for this problem
Diagnosing a buzzing intercom often means testing wiring, power supplies, and grounding in person rather than guessing over the phone, and that is where an on-site visit pays off. Intercom and door buzzer system installation and repair services are offered in Manhattan, Brooklyn, Queens, and Staten Island, provided by licensed and insured technicians who perform isolation and grounding checks on-site.
Fixes such as replacing power supplies, re-terminating grounds, or retrofitting to IP intercoms typically include a warranty on the installation. If the buzzing traces back to an integrated lock relay or an access control power feed rather than the intercom itself, YDA’s access control installation and repair service covers that overlap. For buildings juggling gate operators alongside intercom wiring, coordinating with a gate opener specialist can help rule out shared interference before scheduling a repair. Property managers overseeing multiple buildings can also loop in on-site guard service coordination when access issues extend beyond the intercom itself.
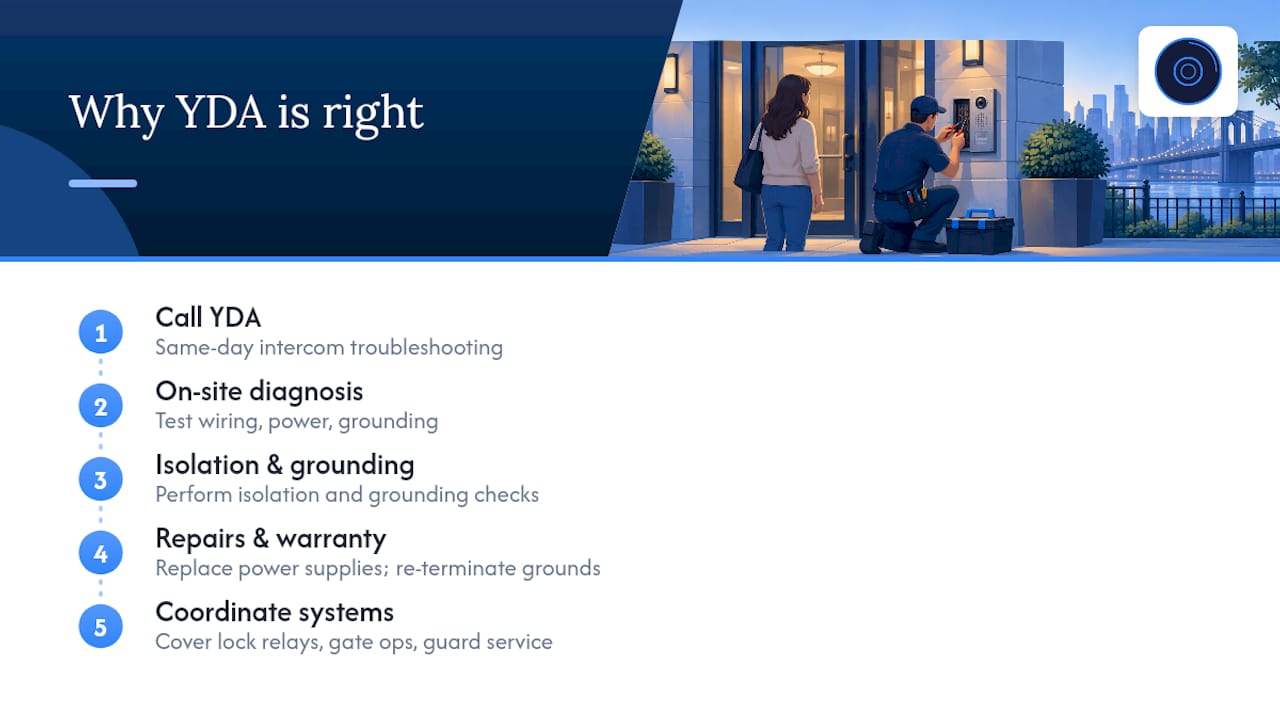
Start with a call for intercom repair and same-day troubleshooting if your panel has been buzzing for more than a day or two. A short diagnostic visit usually settles whether the fix is quick or whether the wiring needs a deeper look.
Sources
- Noise interference in office & apartment intercom systems: How to fix it (2N)
- Effects of shield impedance, connector resistance and coaxial inductors on ground noise interference (NASA / OSTI)
FAQ
Why is my intercom making a buzzing noise?
A buzzing intercom is most often caused by a failing power supply, a ground loop, or electromagnetic interference from nearby equipment such as motors or fluorescent lighting. Corroded connectors and damaged cable shielding are also common contributors, especially in older buildings, according to 2N’s noise interference guide.
How can I fix the buzzer on my intercom myself?
Start by powering down the system, testing one station at a time, and checking for loose or corroded terminal connections, since these low-cost checks resolve a large share of buzzing issues. If the hum persists after cleaning and reseating connectors, the cause likely involves grounding or a failing power supply that needs a licensed technician’s tools to diagnose safely.
Why do I hear a weird buzzing or humming noise from electronics near my intercom?
A steady hum near powered equipment often comes from a ground loop, where two grounded points sit at different electrical potentials and create a stray current path, as explained in the WEMPEC ground loop guide. Intermittent or crackling noise instead usually points to a loose connection or a failing component rather than grounding.
How do I reduce static or interference on my intercom?
Move or temporarily power down suspect equipment like motors, fluorescent ballasts, or switching power supplies to confirm they are the source, then address shielding or cable routing if the interference persists. Correct shield termination and shorter cable runs reduce susceptibility to this kind of interference, according to NASA’s shielding and grounding research.
Should I replace my intercom system instead of repairing the buzzing?
Replacement becomes the more practical option when the same noise keeps returning after multiple repairs on the same analog wiring, or when the cable runs are original to a decades-old installation. Many property owners address this by retrofitting to an IP or PoE intercom, which removes aging analog wiring as a recurring failure point while shifting some diagnostics to the network side.